I should add that if I get reduced effectiveness when the exhaust pipe is hot in slow-n-go traffic, I'll just plug the existing bleeder hole, have my neighbor-machinist drill another on the next flat toward the banjo bolt (it'll need a 37-degree seat at the end for the bleeder), rotate the piston cover one position clockwise, and adjust the hard line accordingly. Really no big deal--but we'll see if that's necessary shortly...
Okay, no issues bleeding the system. Just had to rig a little vacuum hose for that teensy bleeder (1/4" flats), but after that it was straightforward: (i) 'bench bleed' the master by working the lever small movements until air bubbles replaced by geyser; (ii) maintain 10 inches or better at the suction device; (iii) double check freeplay and pressure plate adjustment.
My tapers didn't leak, nor did the copper washers (I don't like the aluminum & rubber jobs they give you). I always use purple silicone fluid in both circuits these days. Doesn't import water so much, easier on paint if you're a clutz like me, and gives a nice firm lever.
On filling the tranny: I didn't initially notice that they've machined a fluid indicator into the bottom of the threads, like a battery cell (duh). So, no need for a dipstick. It sets the fluid level just above center of the throwout bearing on the side stand. You don't need a funnel, either, but it's slow going. Took a quart and another half pint or so (not exactly sure, sorry).
The clutch plates release with 3/4 turn of freeplay @ the adjuster screw sufficiently that you cannot turn the engine over, and the lever simply swings down with no resistance. Let off the lever, and the engine turns over as usual. The lever effort is a hair harder than the mousetrap, but I backed off the springs a bit and it ended up pretty similar.
I'll be eager to see where the friction point is relative to the bar, and how feathering getting out of my uphill gravel drive and shifting on the road work. But the initial impression in the garage is that the piston is retracting nicely and sufficiently to shift without clunking.
Test ride after lunch. We'll see...
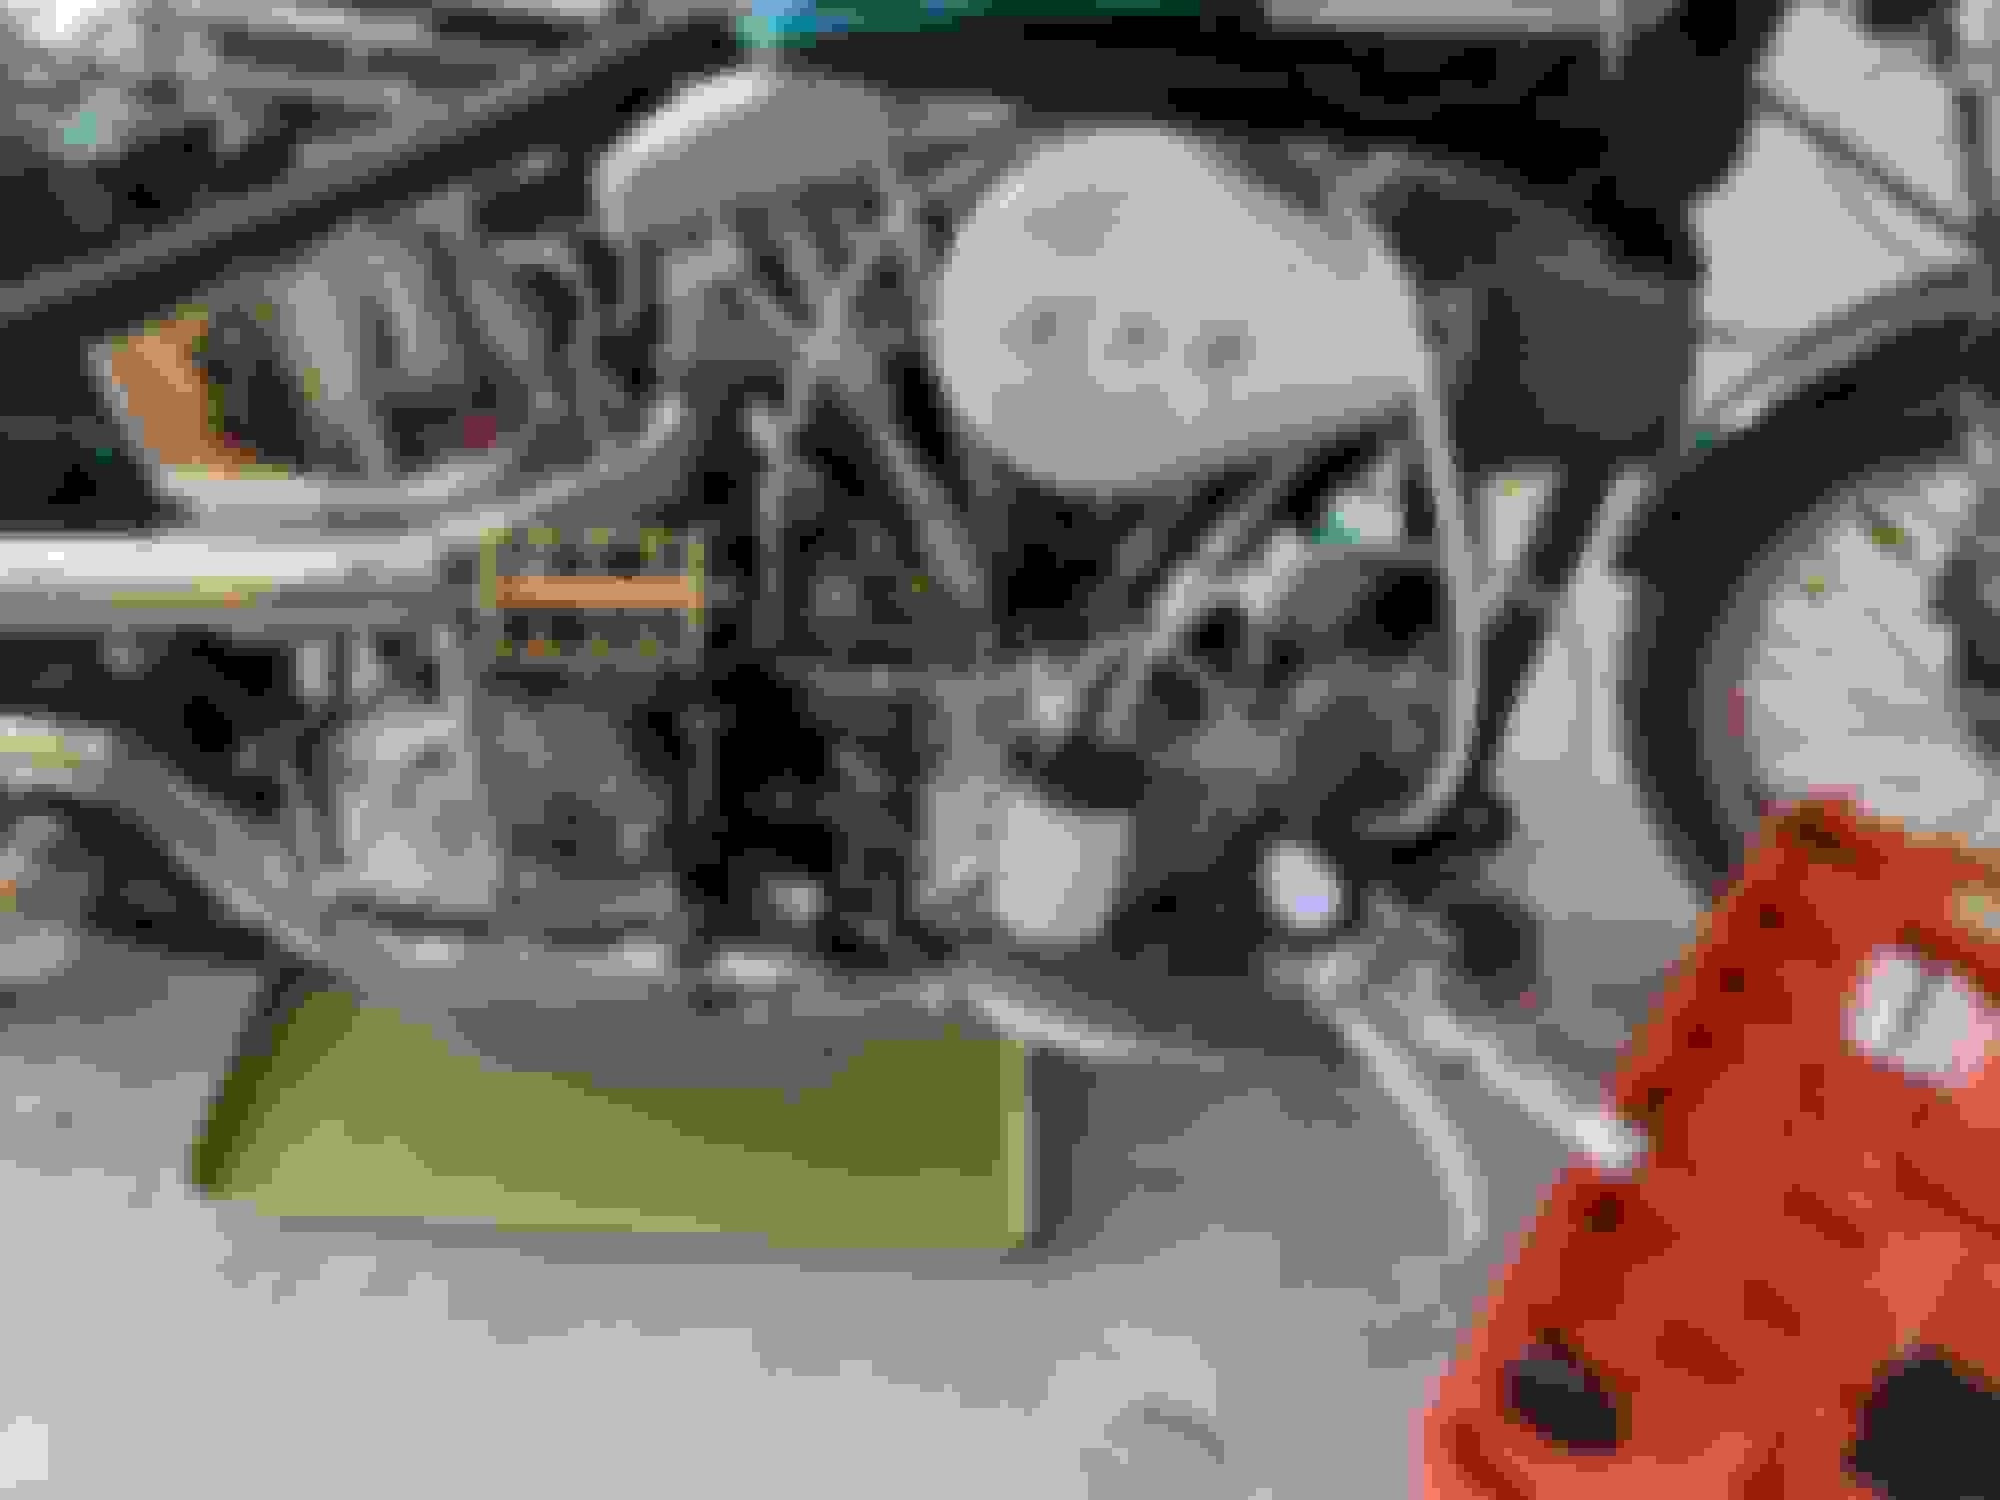
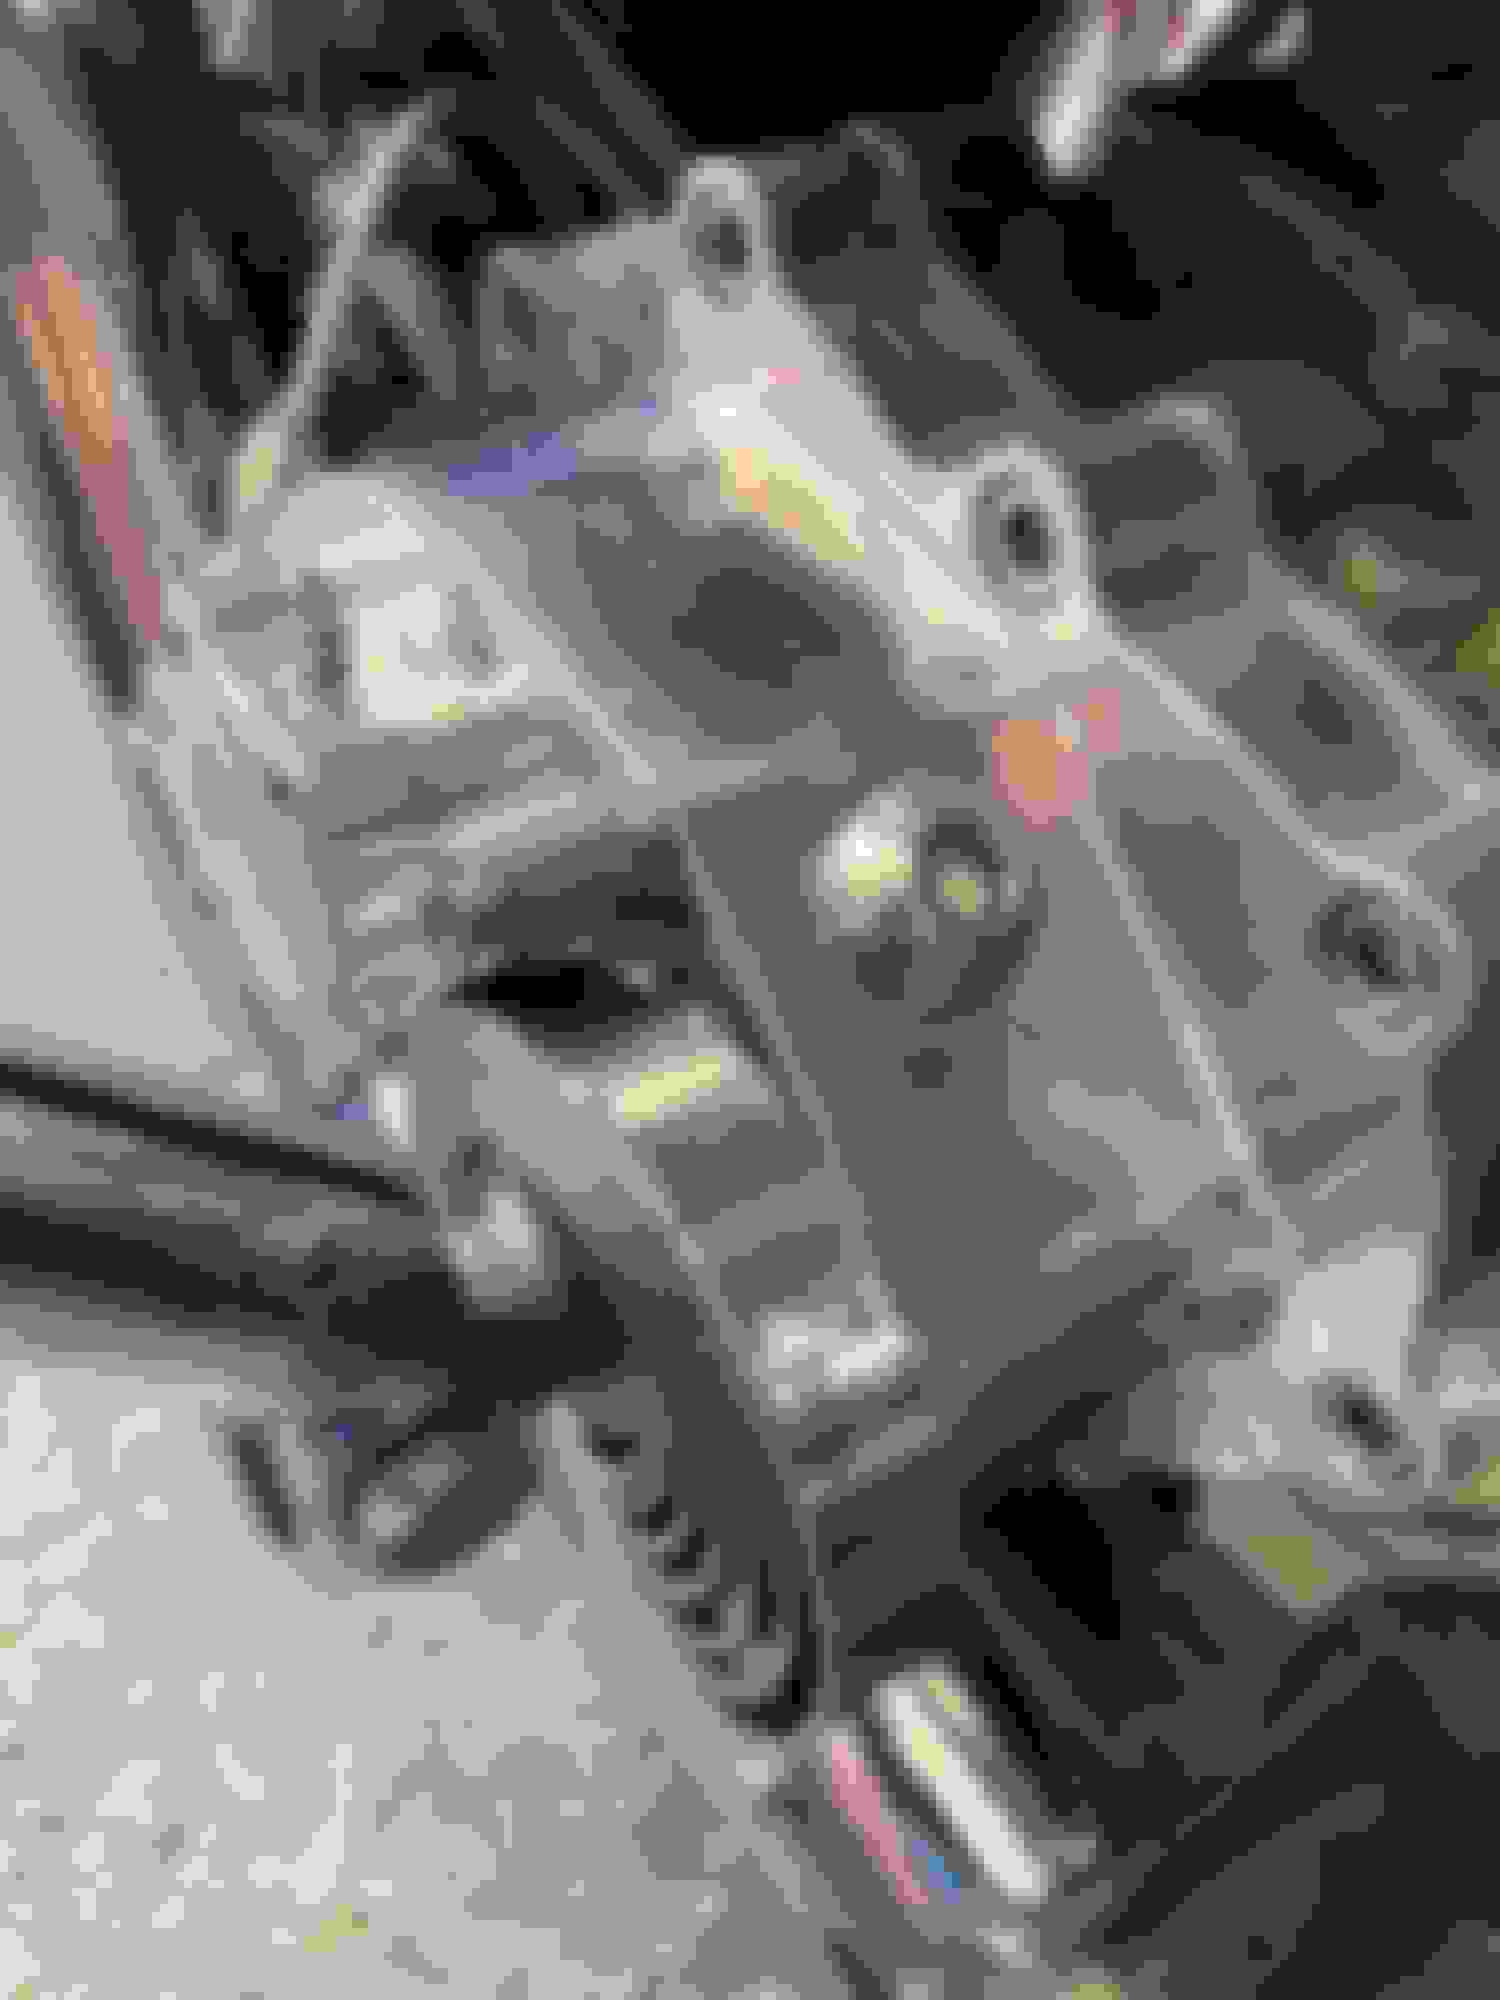
P.S. - the scratches you see in the close-ups are really shallow, and should go away with simichrome... but I should've hit the darned cover on the wheel before mounting it. Ah, well...
Just got back from a 3-hour test drive, with plenty of stop-n-go stuff to test it out. Rode back from ABQ up a mild grade on the interstate at 70+ mph with some spurts up to 75~80 to check for slippage. None discernible there or up the steeper, lower-speed highway through the canyon to the mountain.
Riding impressions:
- First thing is I was wrong about the lever effort. After a few hours in the saddle, it is significantly higher than with the OEM mousetrap setup. I realized after my hand started aching that I should've been grabbing out at the end of the lever rather than with my index finger snuggled up in the dog leg. But regardless, it's much higher effort.
I'll try backing another 1/2 turn off the pressure plate adjustment screws to see if that helps, but I think it's just a grin-and-bear it situation. (I'm running stock springs.)
The other alternative is to machine a sleeve for the master, turn the piston down, and get new square-section O-rings from McMaster to match. A smaller I.D. master nets lower lever effort but also longer travel--which leads to the next factor...
- Second thing is there is definite creep sitting in 1st gear holding in the lever. I never killed the engine but with a kick-only bike and impatient drivers at stop lights, I had to be mindful to keep the rpms up just a hair and maintain a finger on the brake lever (though it might never have died, I just didn't want to chance it). I think that I've got the freeplay down to 3/4 turn, so am wary of reducing it much further to try and get complete disengagement. (Though the piston is definitely retracting properly: with the engine off, you can hear the pushrod go 'clink' when it takes up the freeplay, which to my mind means each time you release the lever, the piston is retracting.)
Therefore, the longer travel netted by reducing the master I.D. for lower lever effort could conceivably mean worse creep/clutch disengagement issues. I need to think about this because there are at least three considerations converging here, and I could get confused (this is different from the braking systems I've designed for the Spridgets, where it's merely effort vs. travel). The friction point where the clutch really starts to hook up completely is out a bit in the travel as it should be, so I don't think that would be negatively affected--but I believe I'm right that farther travel could net worse creep/partial disengagement at full pull on the lever.
At this point, however, it is such a high effort lever that I'm inclined to experiment. (I note in the above-linked page that the difference between a 7/8" and 3/4" master, for instance, is 33% reduced effort. That's a noticeable reduction.) Well, that is, I'd fiddle with it if I were going to do a lot of in-town riding. My usual blast into the city for a visit or appointment would just mean a nice grip workout--and highway cruising would be a non-issue. Anyway, we'll see...
- All that said, shifting is fine. Pretty standard action at the foot lever: no need to yank on it for upshifts, but of course you've got to be a little definite 1st to 2nd. 2nd to 3rd and 3rd to 4th were basically zero effort. Downshifts are normal. No problem finding neutral, though as usual it must be up from 1st and easier to find if the bike is rolling.
I would think that if there were going to be an issue with the late-model throwout bearing, it would have manifested with this much stop-n-go work. I drove all the way through ABQ twice north-south, and that's a lot of lights. I'll check the oil level ma�ana to make sure it's still at the indicator in the filler threads, but I don't see any leaks anywhere. The kicker seal, as I mentioned earlier, is a high-quality square-section O-ring. No leaks there.
Basically, the conversion is a success.
But for the above gripes, I can recommend the Speed Dealer hydraulic kicker cover (and no, I have no affiliation with them whatsoever). I note that the price has gone up since I bought mine, but I can tell you as someone who sells CNC machined parts I have designed and my neighbor makes for me, just the 6061-T6 billet to make this cover would run around $35~40, my cost. Aluminum is really expensive these days. And you will see that some other outlets sell SD's identical part for nearly twice as much. Ridiculous markup IMHO...
Final notes: I didn't notice it but Drag Specialties has the I.D. stamped on their master flanges (see pics). The 15mm I.D. low-profile brake master that matches the clutch master nets a lighter pull and longer travel than the one I had. With a brake, that manifests as better modulation with the standard Harley 4-pot caliper I'm running. The older, boxy-looking one I had with a larger diameter piston featured a shorter pull but was more 'on/off' than this one, which affords more nuanced braking. It's still a perfectly firm, confidence-inspiring stop at the end of travel, just a bit closer to the grip. So, the swap I did for aesthetic reasons turned out better all around.
Hope this helps anyone who was considering converting their 4-speed to a hydraulic clutch.
Last edited by NM Pan-shovel; 04-19-2024 at 08:28 PM.
Hmmm... a final thought for the night. Maybe, counterintuitively, I need to increase the freeplay. That is, I suppose it's possible that with less freeplay, I'm over-traveling the piston and over-compressing the pressure plate springs, such that when the coils 'stack up' then tremendous pressure would build up in the system, creating a really difficult pull.
The only problem with that is it seems like more travel would mean more complete clutch disengagement--because I am getting some creep sitting still in 1st gear...
Anyway, I'll take a close look at the actuation to eliminate this possibility tomorrow. But it seems to me that if the kick starter's ability to turn the engine is nil when I pull on the clutch lever--which it is--then there shouldn't be significant creep/clutch drag, either.
Last edited by NM Pan-shovel; 04-19-2024 at 09:52 PM.
This excerpt from another forum's thread, posted by a guy who sounds very methodical and knowledgeable, makes sense to me (and I've taken out the bit on adjusting the cable at the lever, since that doesn't apply):
". . . Back the set screw off 1/2 a turn on used plates, or 3/4 to a full turn on new plates, and lock it down.
"Now measure how much lift you get at the pressure plate. About 50-60 thousandths is what you are looking for. And it should be seated at .000 before the lever is fully released. And to be sure, new disks will want another adjustment in a 100 miles or so . . ."And some times brand new extra plate kits with big springs drag badly when adjusted by the book. Basically to the point of breaking stuff. In general, they need the set screw backed out less than with oem plates. [emphasis added] But you have to make sure that there is still some free play on that adjustment." [or you'll toast the throwout bearing]
So - the only other potential factors are: (i) the system just needs more bleeding; or (ii) that banjo fitting is indeed close enough to the exhaust pipe that the fluid is boiling, creating air in the system and reducing the piston's movement. In my experience with a brake system that boiled due to a short circuit in the pressure switch for the stop light, that situation resolves when the system cools down.
However, I'll eliminate the above 'low hanging fruit' possibilities first thing by bleeding the system again.
Then, I'll measure pressure plate lift to see if I'm getting at least the movement spec he's talking about. Double check the kicker-disengagement gross test, too.
If I'm not getting .050" to .060", I'll reduce freeplay adjustment at the set screw to 1/2 turn (I've got used plates and it's set at ~3/4 turn, I believe). At the same time, I'll use my magnifier to make sure the spring coils are not stacking up before I get sufficient pressure plate movement. If they are, then I simply need to back off the pressure plate adjusters another click, and reset the freeplay adjustment.
Suggestions, been through some of this very recently with another bike. If you don't have it do a ramjet retainer, replace the tin cover for the bearings. Double check the steel & fibers are straight, clean and slide easy in the shell & on the fingers, last but not required I swap to the alum pressure plate, adjusted is 3-5 threads max showing for the spring tension. This usually kills 90% of the clutch drag issues, been doing this very dance with a partner new build this week.
He had one of those fancy Pro Clutch setups with a mouse trap and that trick hidden electric start system that drives through the kicker cover. Could not for the life of us get that combo to work, put the stack clutch back in and boom, clean easy and zero drag.
Okay, than you - I'll run through the clutch re: the drag issue. This morning, I actually think there are two things going on: drag, which I'll address beginning as you suggest, and either a pushrod that has somehow gotten bound inside the mainshaft or cooked fluid that froze the piston in the kicker cover. It feels now like I'm merely compressing the fluid when I move the lever; it's that damned hard.
I say the latter two things because this morning, I went out there and squeezed the lever... and it's not stiff: it's agonizingly hard, like trying to do grip exercises with a 200 lb. barbell you're using for deadlifts--and the travel feels mechanically limited. It must've gotten worse throughout the ride gradually yesterday, so the memory of how relatively easily it worked when I started out got erased. It's a wonder I made it home without my grip failing completely...
One quick thought, did the MC have a check valve in it ? If I remember right you had to pull those for a clutch use so it wouldn't pump up solid on you. Do a search on that, may pay off for you.
Pop the bleeder, see if you a bubble or a spurt not touching the handle, then give a lite squeeze to see what you get. Those little throw out bearings will roach themselves quick if they have any preload on them constantly so back off the adjuster on the pressure plate and see if it that allows the lever to move any. I'd be leaning to the slave cylinder getting sticky if you don't any hard part issues.
Last edited by TwiZted Biker; 04-20-2024 at 04:18 PM.
 04-19-2024, 10:03 AM